
How to use
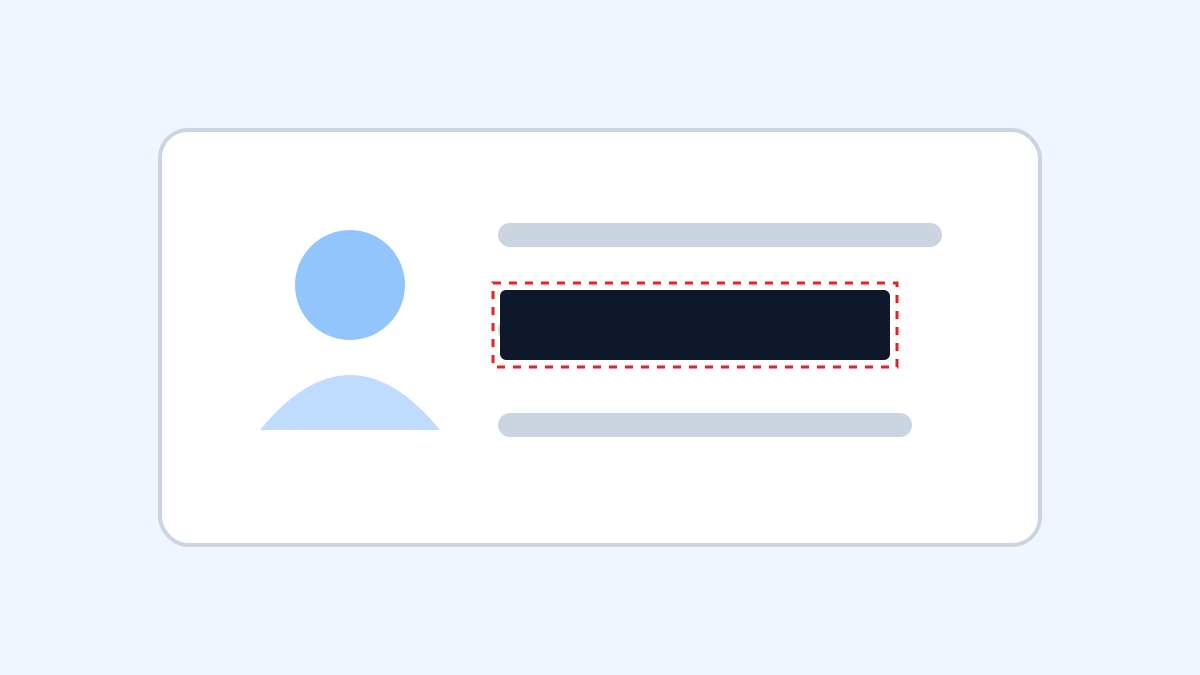
Cover rectangular parts of a photo or screenshot with solid black or mosaic. Drag on the image to draw an area to hide; its position and size appear in pixels as you draw. You can draw several areas, drag one to move it, or select one and nudge it with the arrow keys, 1 px at a time (10 px with Shift). Drag the handles on the corners or edges of the selected area to resize it. Press Delete to remove the selected area. Ctrl-click an area (⌘-click on a Mac) or drag it out of the preview to remove it too. Click “Apply areas” to cover all areas on the original image in one step and save the result as a PNG. The style (solid black or mosaic) applies to all areas; for mosaic you can set the block size (2–200 px, 16 px by default).
Scope and limitations
Mosaic alone may not hide sensitive text or faces adequately. Use solid black for private information and zoom in on the saved file to check it. The saved PNG is separate from the original. If you move or delete an area and apply again, the result is rebuilt from the original, so a spot that an earlier result had covered stays uncovered unless an area still covers it.
Input one JPG, PNG or WebP, up to 20 MB, 24 MP and 8,192 px per side. Only the first animation frame is processed; HEIC and SVG are not supported. After changing settings or editing areas, click “Apply areas” again before saving a new result.
Processing requires a current browser with OffscreenCanvas support.