
How to use
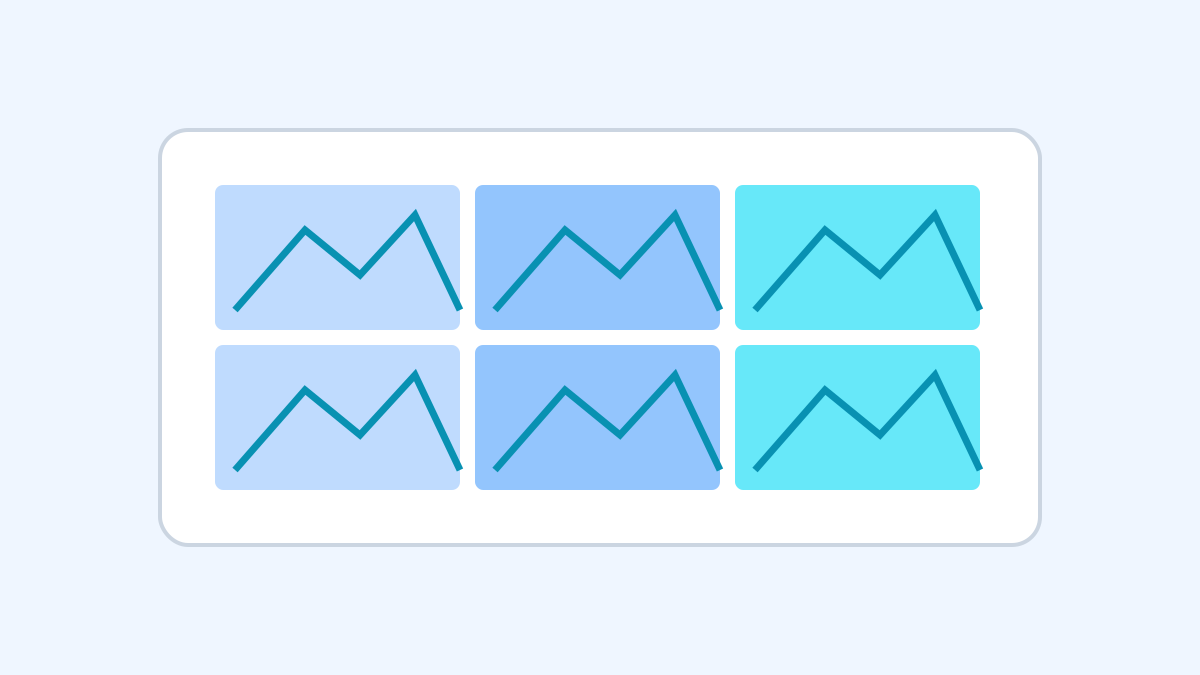
Split a long image or photo by piece height, piece count, or a grid of rows and columns. Height mode may produce a shorter final piece. Count and grid modes distribute leftover pixels so the entire original image is included. Save each part as a PNG.
To cut exactly where you choose, select “Custom lines”. Click or tap the top ruler above the preview to add a vertical line at that position, or the left ruler to add a horizontal line. Drag a line to move it. Each cell the lines form becomes one piece. For example, two vertical lines and one horizontal line produce six pieces. To add evenly spaced lines in one step, select a line, then Alt-click (Option-click on a Mac) another line in the same direction. Set how many lines to add between them, then click “Add lines between”. For example, selecting the lines at 100 and 500 and adding 3 places lines at 200, 300 and 400, giving 100, 200, 300, 400 and 500. On a touchscreen, tap the first line, then press and hold the second. Hold Shift while dragging to fine-tune a line pixel by pixel in a magnified view. To delete a line, Ctrl-click it (⌘-click on a Mac) or drag it out of the preview.
Scope and limitations
You can create at most 100 pieces. Rows cannot exceed the source height and columns cannot exceed its width. Pieces run from top to bottom and from left to right within each row. Saved filenames include their sequence number.
Input one JPG, PNG or WebP, up to 20 MB, 24 MP and 8,192 px per side. Only the first animation frame is processed; HEIC and SVG are not supported. Process the image again after changing settings before saving a new result.
Processing requires a current browser with OffscreenCanvas support. If a split gives several pieces, you can also download them together as a ZIP; any piece you uncheck is left out.